how to transfer images onto fabric
Several people have asked me how I transfer images onto fabric for my embroideries. So, here's a tutorial!
WHAT YOU NEED
Arylic medium. I use a matte finish for my pieces.
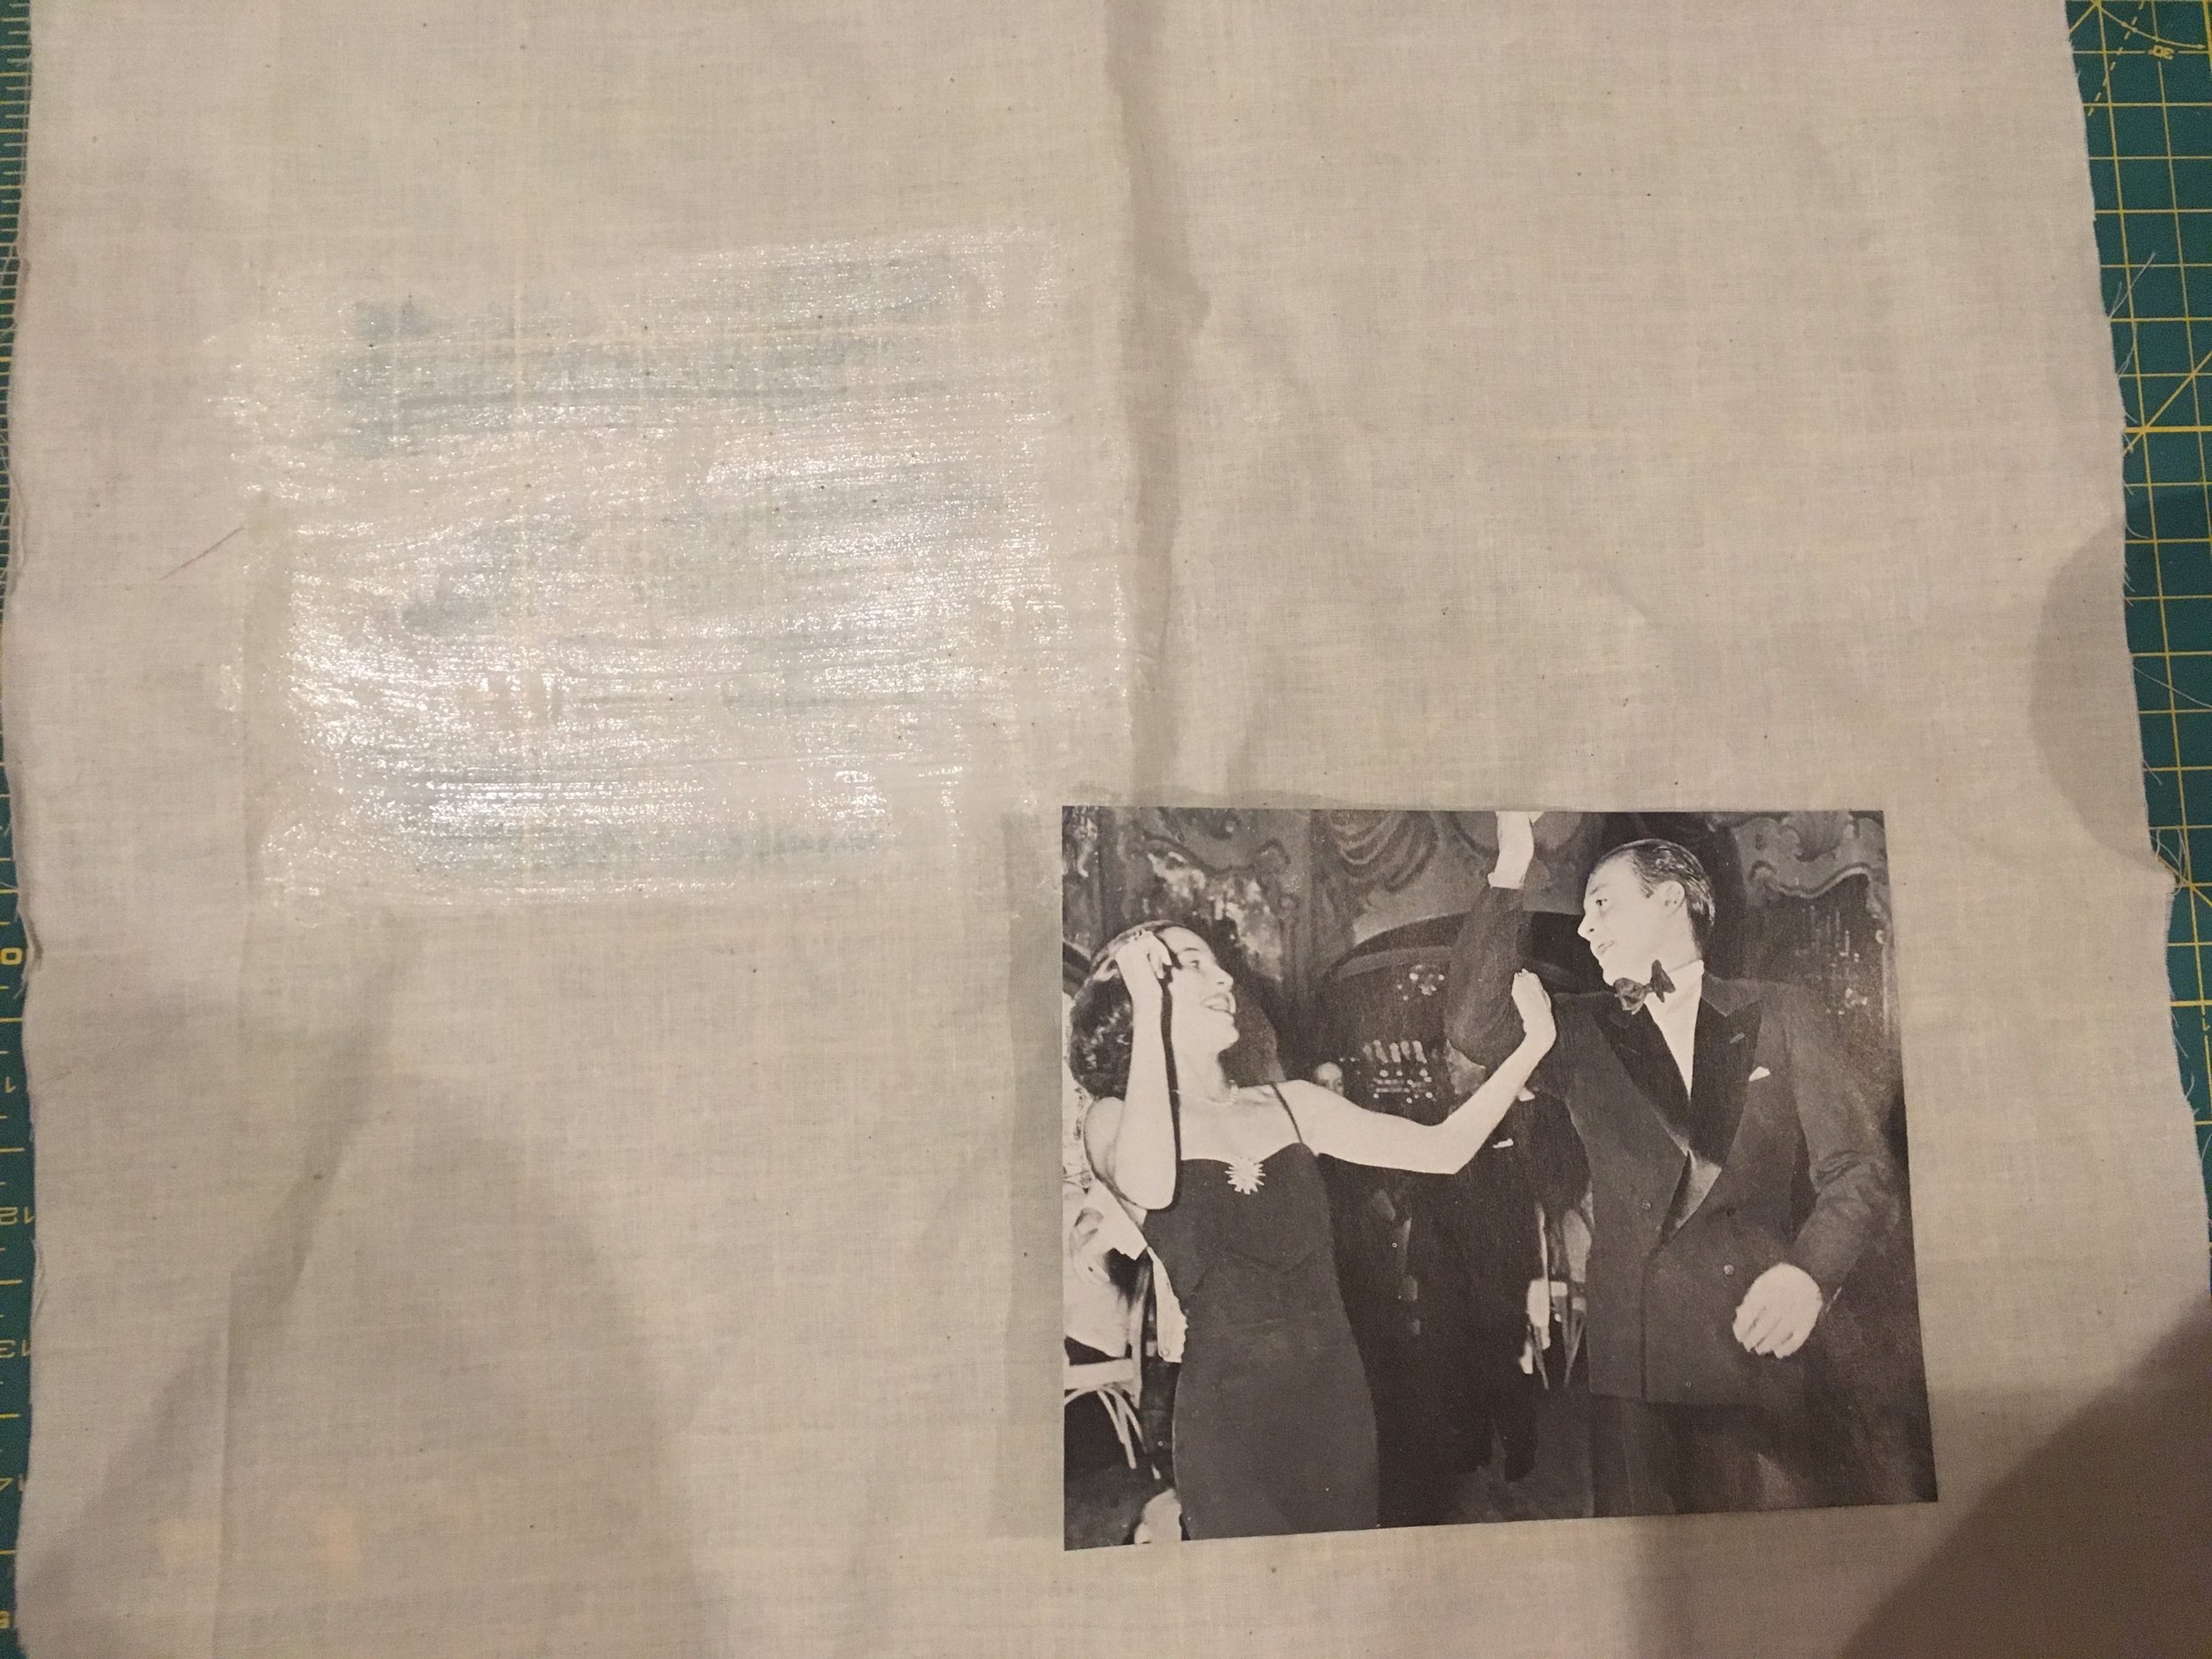
Any image printed in ink. Keep in mind that when you transfer your image, it will go on backwards, so I usually avoid images with text. If you want text and you're printing yourself, make sure your design has the text reflected. I've found magazine paper works best, but I've also used images printed at home and images from books.
A piece of fabric. I use standard muslin fabric. It's important that your fabric is untreated, as most colored fabrics are treated with dye which will alter the image colors, or may not hold any of the image colors at all.
Paintbrush.
An easy to clean surface. There will be residue underneath the fabric once painted with medium, but it's easy to wash off with soap and water.
FIRST STEPS
Paint the area you want to put the image on using the acrylic medium.
Place the image face down on the wet surface. Smooth out the image as much as possible, and fill in the corners with medium underneath up to the edges.
Cover the image with another layer of medium, continuing to smooth out the creases as much as you can. (Side note: I don't try to do this too much because a- it's damn near impossible, and b- I like the imperfection of the white spaces after I peel the image off. It's still important to do this though to get a better transfer.)
Lift the fabric up and place it on a flat surface that you won't mind getting a little sticky. I usually put my images on an old book, magazine, or plastic bin, or hang the image up with clips.
Let the fabric dry overnight or for a few hours—the longer the better. (Notice the creases and how it translates in the final image.)
FINAL STEPS
Place the image in a shallow body of water. I use an old plastic bin and scrub brush for this part because it gets a little messy.
Gently scrub the image until you start to notice it peeling off.
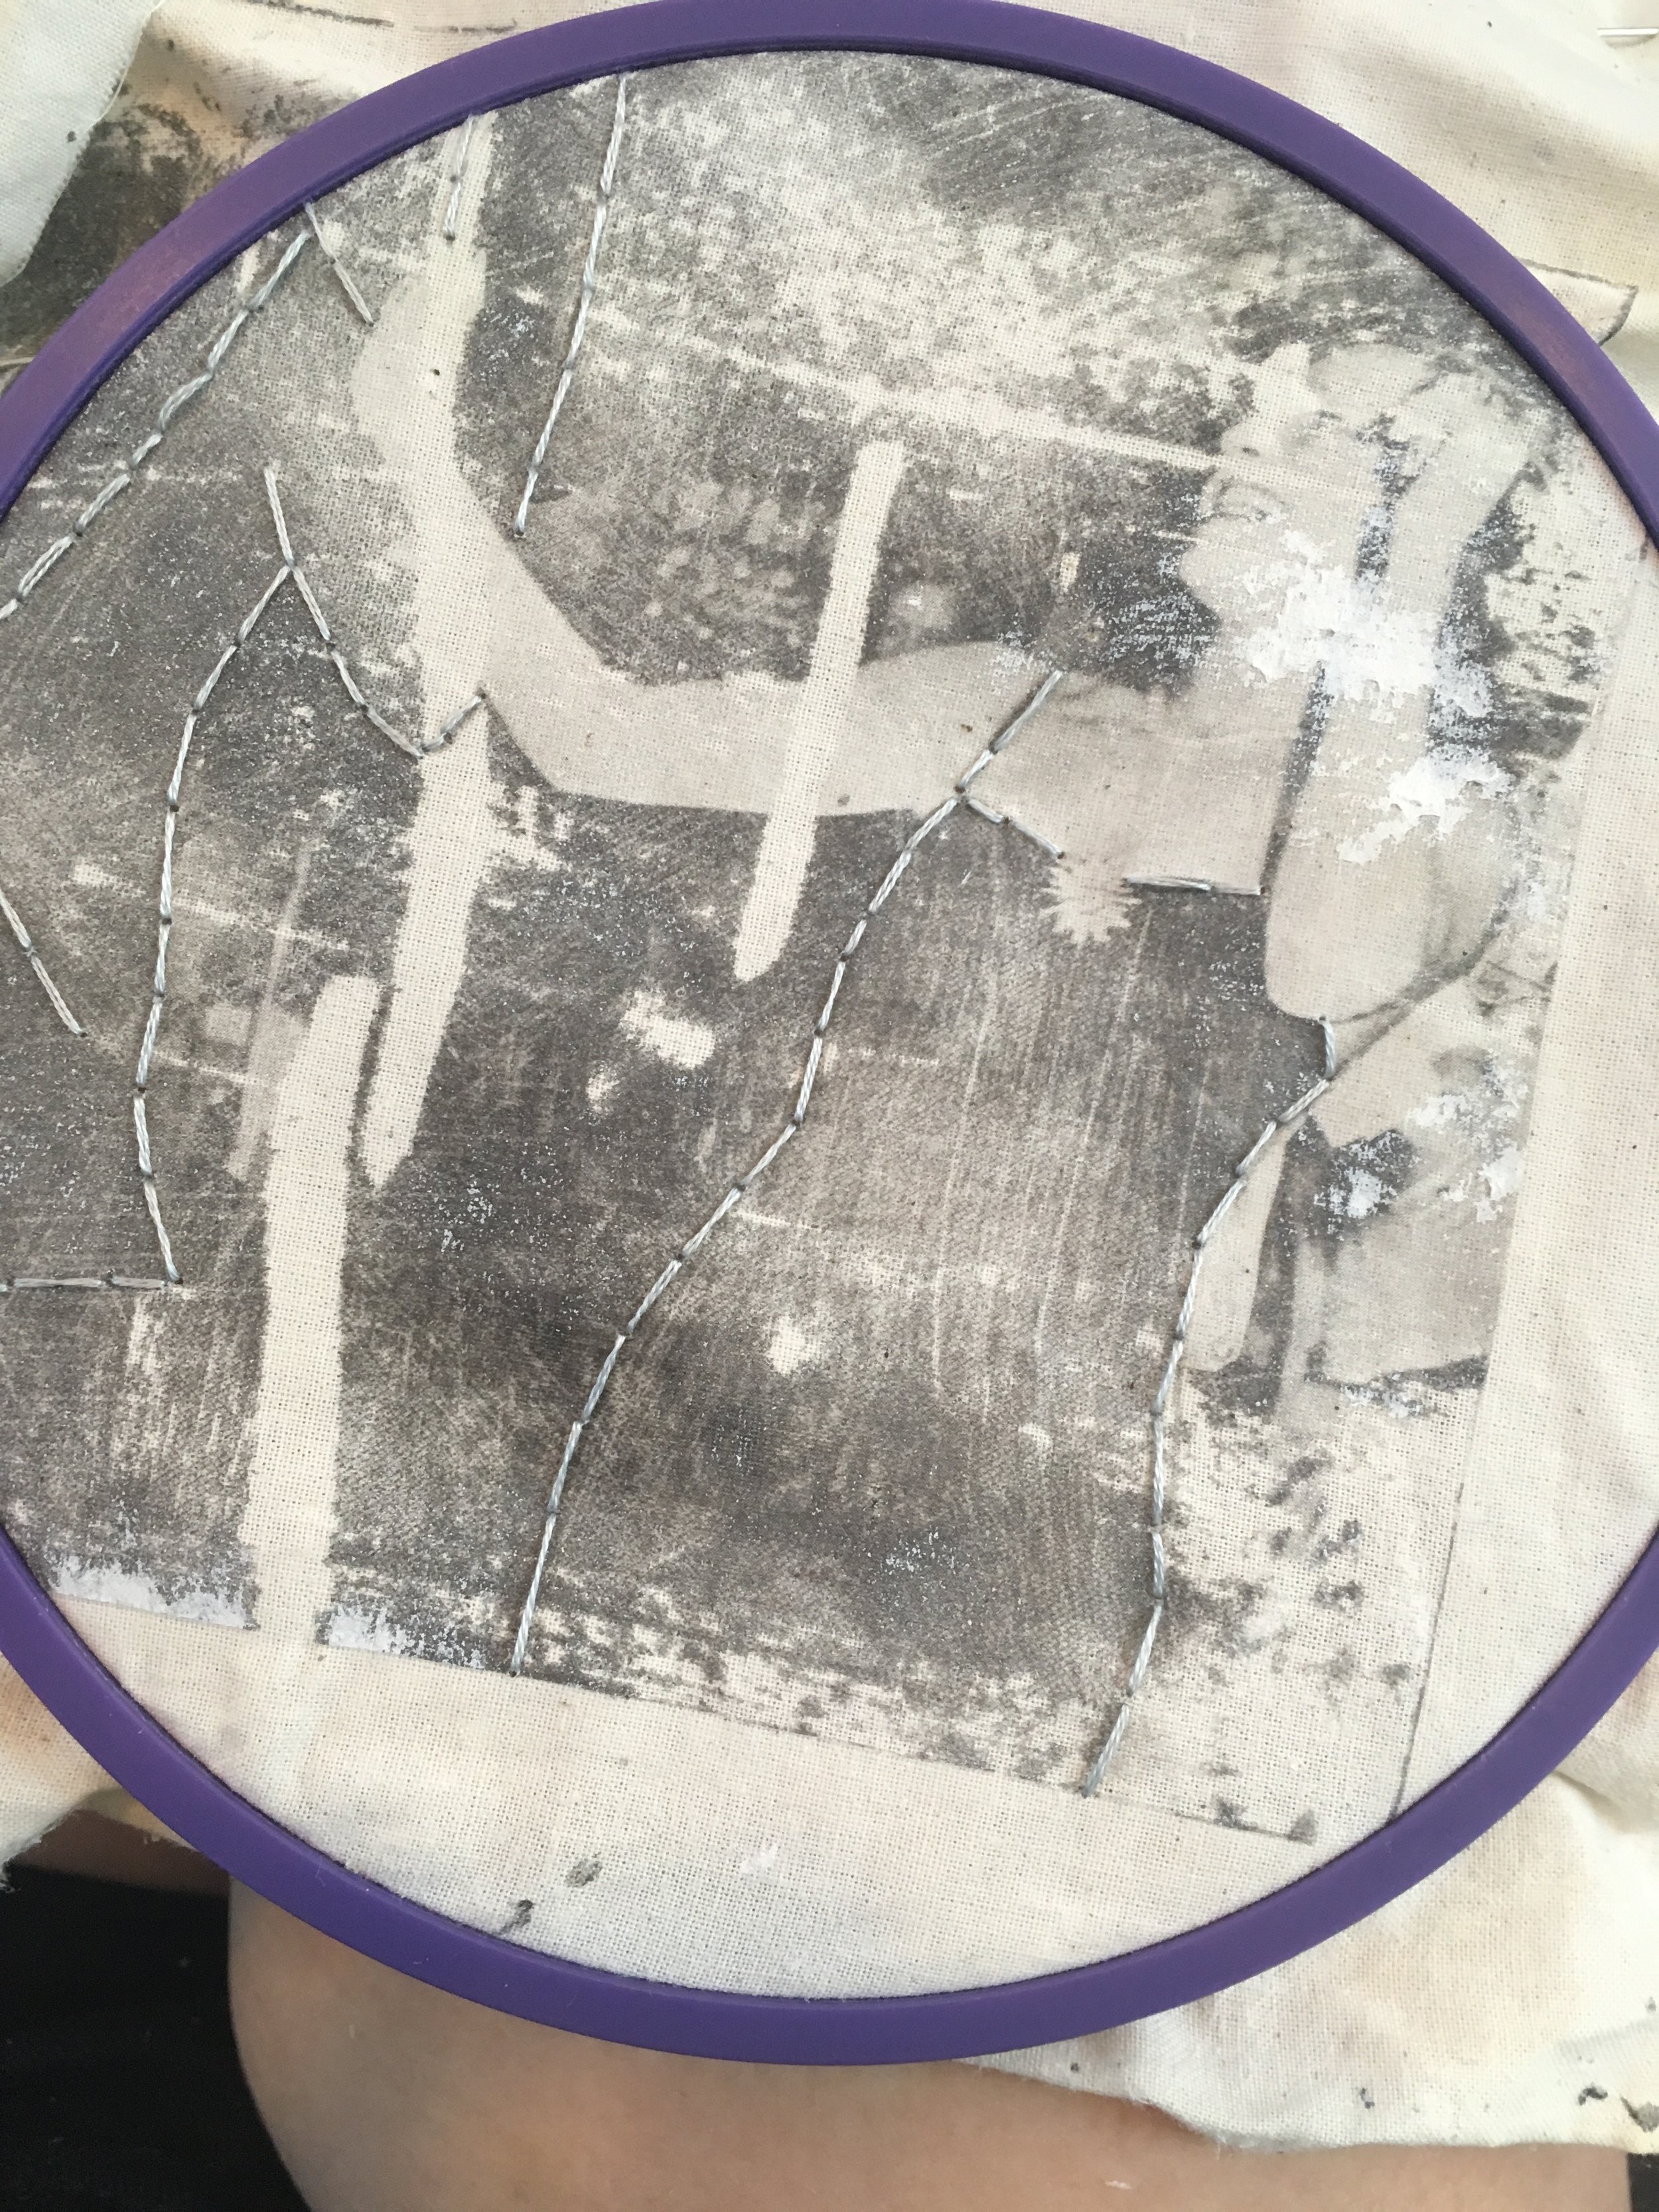
Continue scrubbing gently until the entire top layer is removed, rinse the residue off, and let the image dry for a few hours before altering.
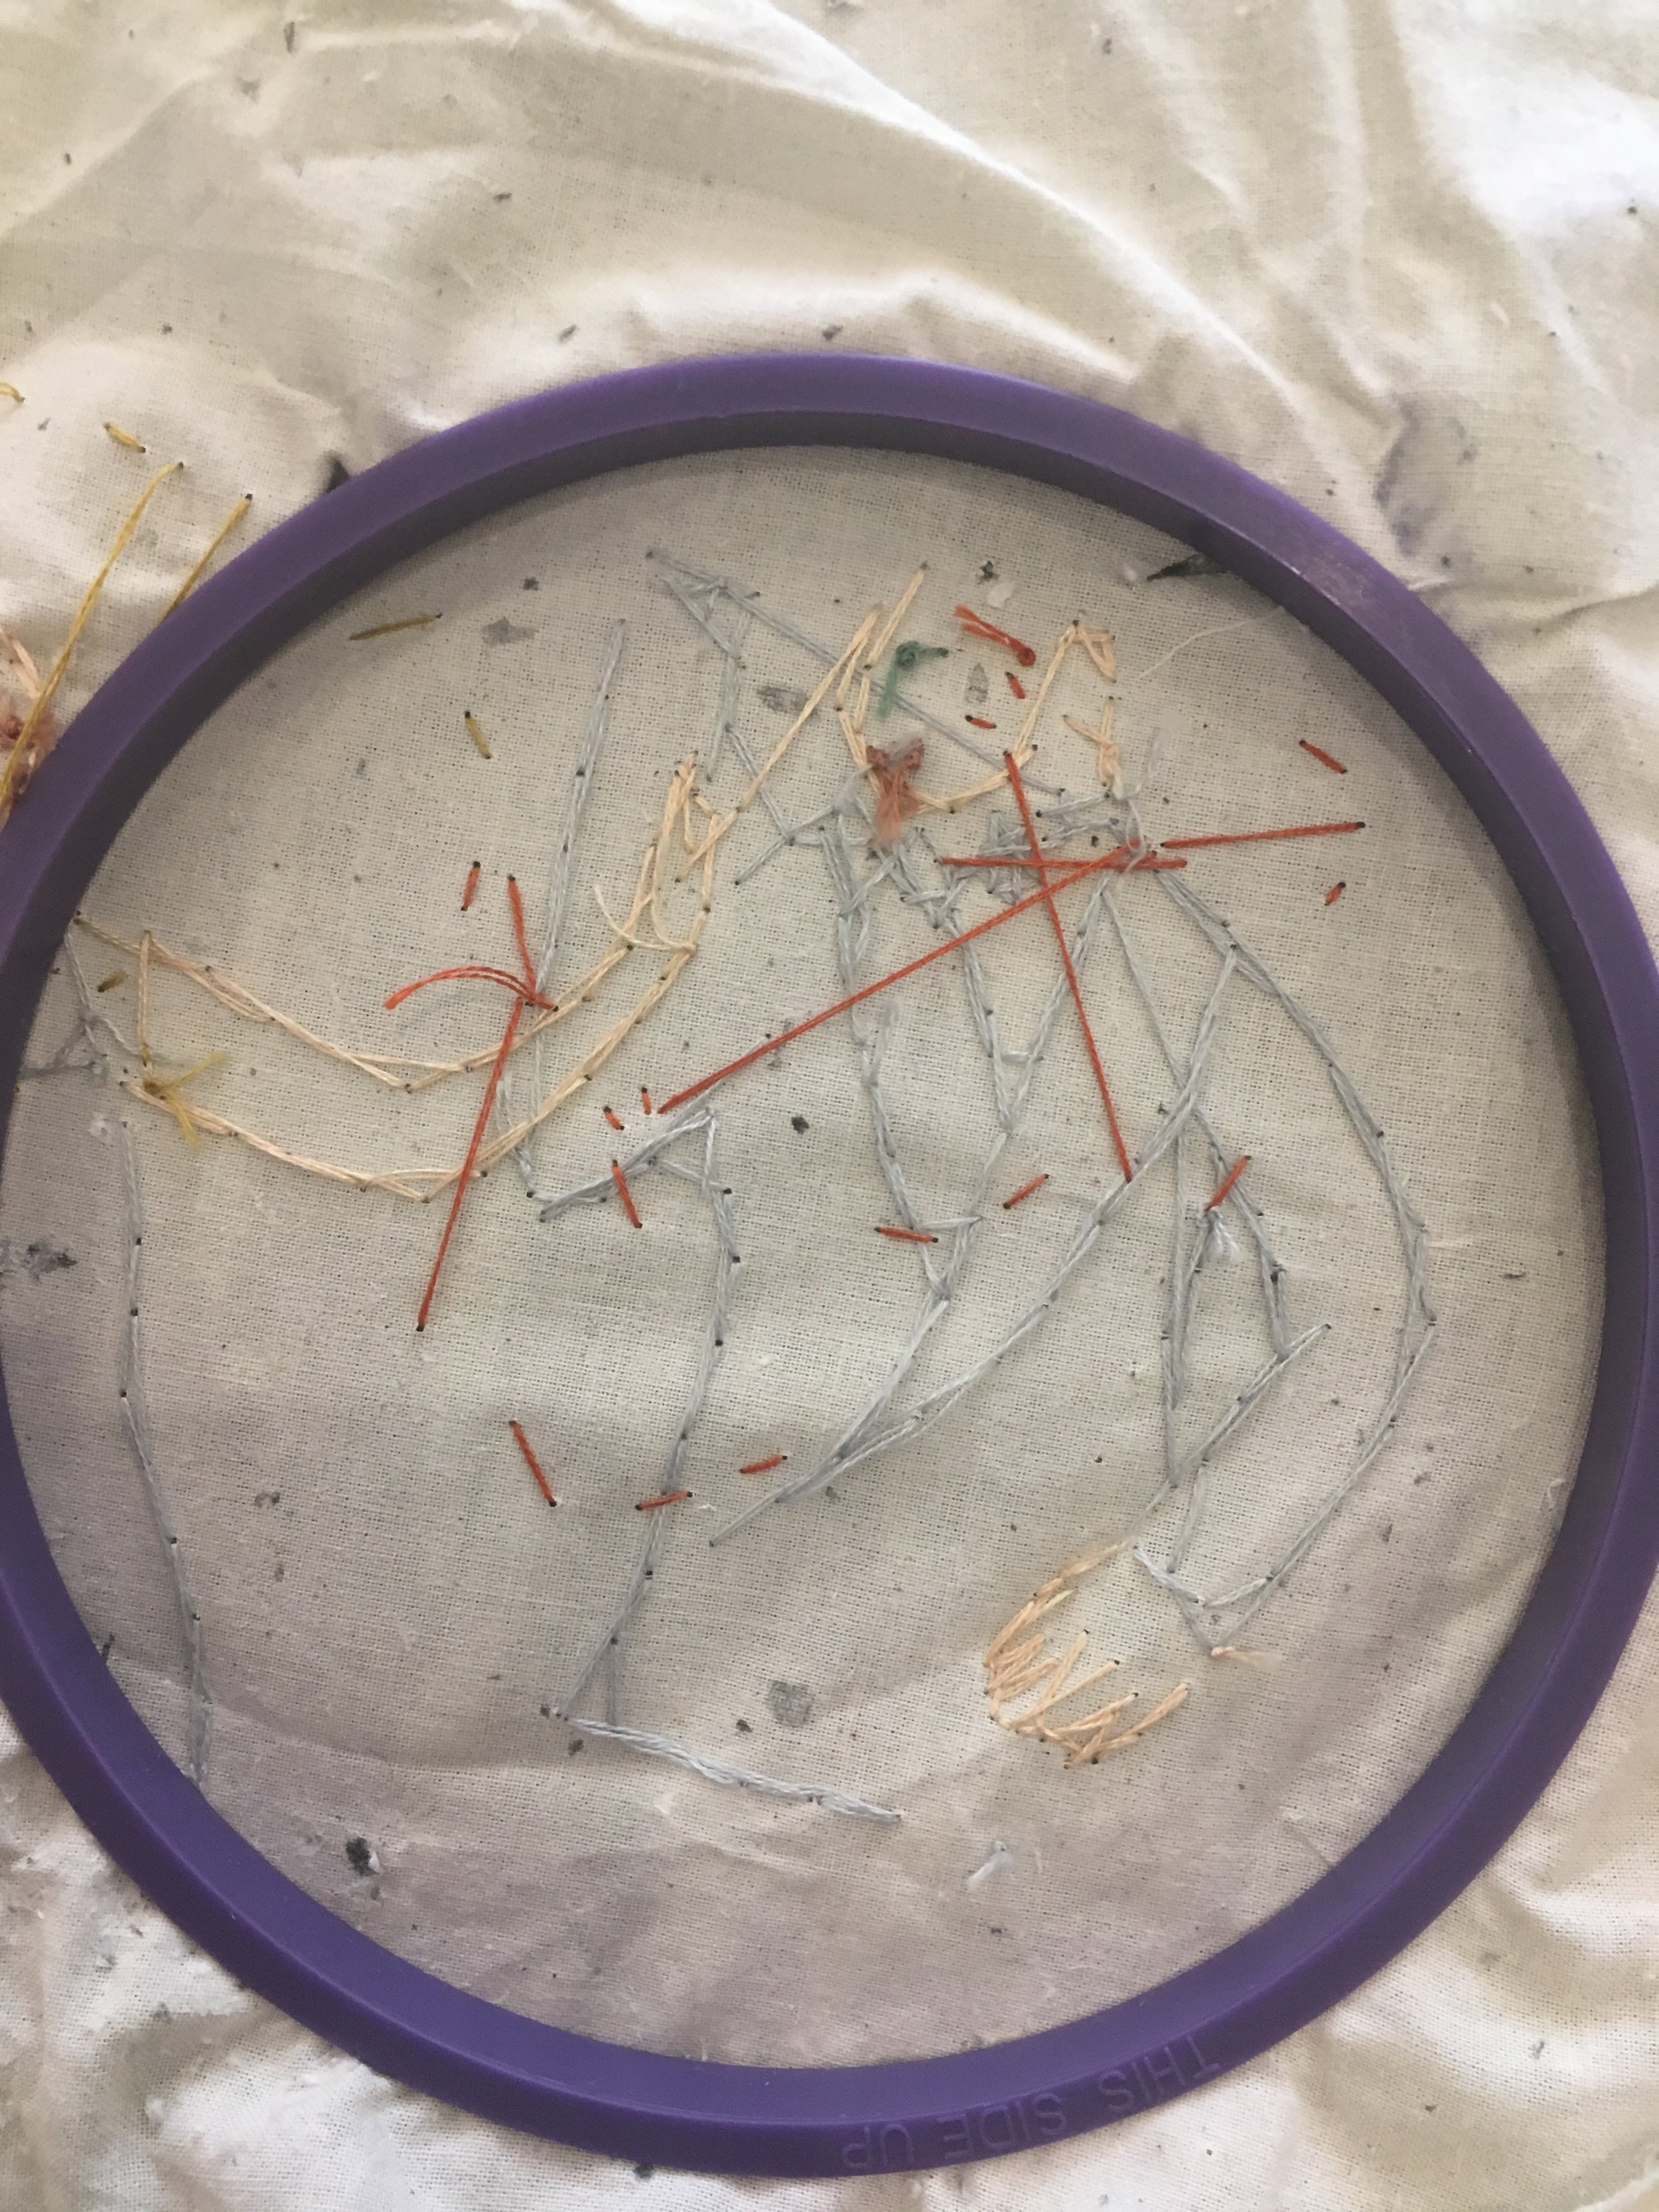
Once I'm done with the transfer, I liked to add my own embellishments using thread and needle. Fair warning: if you have experience stitching, you'll notice this is a little more difficult than stitching on fabric since it has another layer of toughness to it. I wear a thimble when I stitch on image transfers because you have to thread the needle up and then down for each stitch, as opposed to just threading through, so there's more opportunities for a nice lil poke in the finger.
& VOILA! We have a patch!
get this for your loved one~


